Create a Typescript NextJS Project with Jest & Cypress
Having a solid boilerplate that can be easily transitioned into a production app is a great thing to have around. It is often much more work to resolve dependencies or make deeper structural changes after you are already at 10–20k lines of code.
In this post, I’ll go through setting up a project with this stack. In some future posts, I’ll detail some extended versions for different use-cases.
If you’re looking to just fork the repo and spin it up, check out the links at the bottom of this post.
Let’s get started.
I’ll be using VSCode, with a few helpful extensions:
- DotENV
- ESLint
- ES7+React/Redux/React-Native
- PostCSS Language Support
- Prettier — Code formatter
- HTML CSS Support
I’ll also be deploying to Vercel, and using GitHub for git hosting (& some CI).
First let’s create a folder, init a NextJS app with Typescript, make the initial commit to github, and see our app deployed to Vercel.
yarn create next-app --typescript
> ✔ What is your project named? boilerplate-next
...
cd boilerplate-next
yarn dev
Then you’ll see the default next page.
Go to Github, create a new repository, then:
git remote add origin git@github.com:<USERNAME>/boilerplate-next.git
git push -u origin main
And you’ll see your code at:
- https://github.com/<USERNAME>/boilerplate-next
Then go to Vercel to import your Git repo. Add the Git repo by signing in and clicking the import button once your Github account is linked.
In the configuration, make sure NextJs is selected, and submit to deploy your boilerplate. You should then be congratulated with the below:
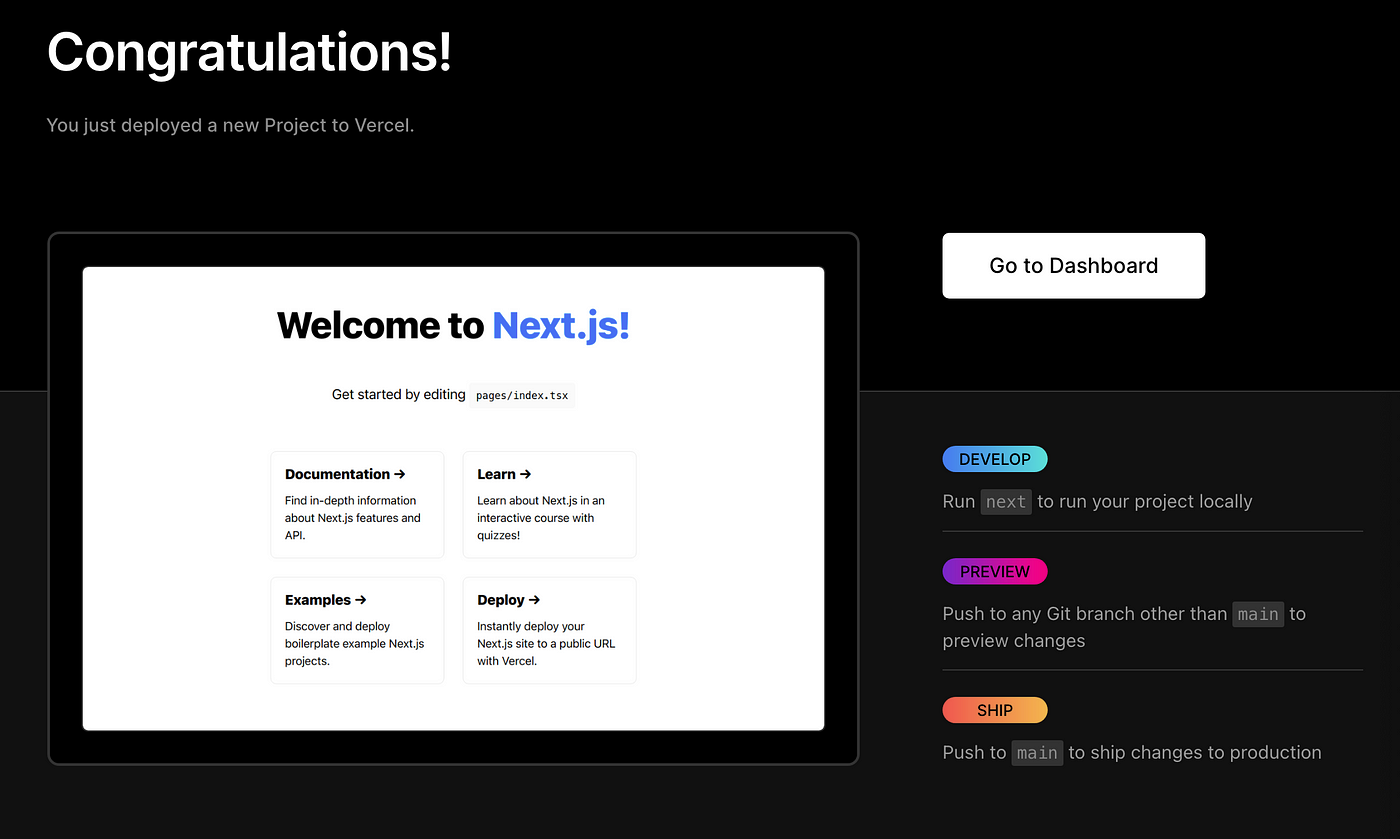
You can click the preview image to see the deployment, or open up the dashboard by clicking the button for more detailed config.
The NextJS Typescript starter is great, but let’s add a bit more tooling that should end up being useful as the project grows.
yarn add -D ts-node prettier jest husky lint-staged eslint-config-prettier eslint-plugin-jest-dom @testing-library/jest-dom @testing-library/react @types/testing-library__jest-dom @types/testing-library__react @typescript-eslint/eslint-pluginThese packages will give us a good foundation for formatting and testing.
Also add this under scripts to run our tests (and a CI option for later):
"scripts": {
    ...
    "test": "jest --watch",
    "test:ci": "jest --ci"
}
Then we will edit a few configuration files for all the tools we installed.
touch jest.config.ts
The tsconfig.json is almost there from the Next initialization, but add a few things (mostly types, and excluding a cypress folder that we will add later)
Also add a prettier config: touch .prettierrc.json
And edit our .eslintrc.json with the new plugins we installed:
Then lets enable husky pre-commit hooks in a clever way, saving some compute by only linting the staged code.
yarn husky install
Add an entry to package.json :
"husky": {
    "hooks": {
        "pre-commit": "lint-staged"
    }
},
Add the script to the .husky folder, touch .husky/pre-commit with:
#!/bin/sh
. "$(dirname "$0")/_/husky.sh"yarn lint-staged
You may need to make the husky script executable with chmod +x ./pre-commit
And finally create a lint-staged.config.js in the root of the project:
You can then add the edited files and commit to git (running and passing the husky hook).
At this point, your project should look something like this
Next up, let’s configure out test suite. We’ll be using Jest (which we already installed), Cypress, and Github actions.
First, lets install Cypress:
yarn add -D cypress @types/cypressadd a config file:
// cypress.json
{}
as well as add a script in package.json :
"scripts": {
    ...
    "cypress": "cypress open"
}
and finally initialize with yarn cypress open which will generate a folder.
Let’s convert this to Typescript to keep things consistent.
—
NOTE
Jest and Cypress have some conflicting underlying types due to both running tests suites. If you don’t handle this, you will almost surely run into some type issues in the test files.
We will resolve this by creating a dedicated tsconfig.json for the cypress folder
—
touch cypress/tsconfig.json
and double check your root tsconfig.json has cypress excluded.
Then in the cypress folder, go ahead and delete the default files in cypress/integration and refactor plugins/index.js support/commands.js and support/index.js to .ts files.
cypress/plugins/index.ts
fix the export with:
cypress/support/commands.ts
const asModule = {}
export default asModule
and finally create a test in cypress/integration/app.spec.ts
… and then actually add the nav functionality in the pages folder.
touch pages/about.tsx
and edit the index.tsx page so that it has the link to /about
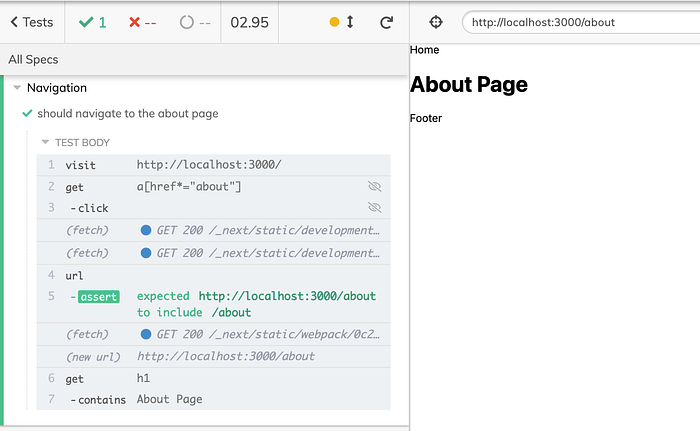
Now, start up the app with yarn dev in one terminal, then yarn cypress to run the test. It should open the client and run the test:
Next up, let’s add a Jest test to make sure that works as well.
mkdir __tests__
touch __tests__/index.test.tsx
Then populate the file with:
Verify it works by running yarn test
At this point, your project should look like this
Now let’s set up CI with Github actions.
mkdir .github
mkdir .github/workflows
touch .github/workflows/test.yml
We will use the Cypress action, and add some steps to run our build and Jest tests.
Go ahead and commit it to verify that Github actions runs successfully.
You should get a checkmark after the action completes, to double check your work thus far, you can see our current progress here
You can also check your action workflows under the actions tab, or go directly via:
Since this is already gotten fairly lengthy, will go ahead and finish this post here.
Check out the repo here: https://github.com/wk0/boilerplate-next
Stars are appreciated!
Also check out my website: https://wk0.dev (contact info available)
Stay tuned for updates